This increases production risks during Christmas rush.
How NKEMB Prevents These Issues
At NKEMB, every design goes through strict vector review. Artwork gets optimized before digitizing begins.
NKEMB combines professional vector art services, accurate digitizing services, and premium patch services to keep Christmas production smooth and reliable.
Final Thoughts
Most Christmas gift production problems start with vector design mistakes. Fixing them early ensures clean embroidery and faster turnaround.
For stress-free holiday production, trust NKEMB to deliver clean vectors and flawless results.
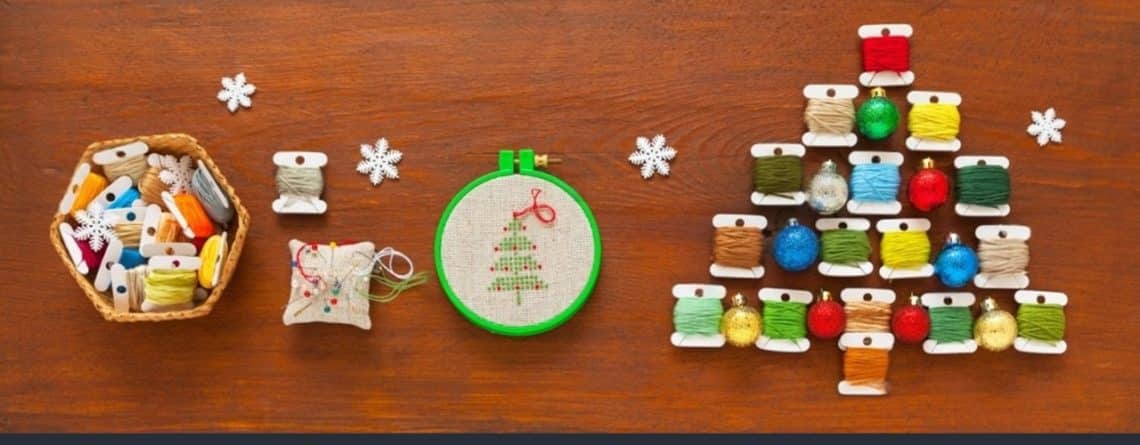
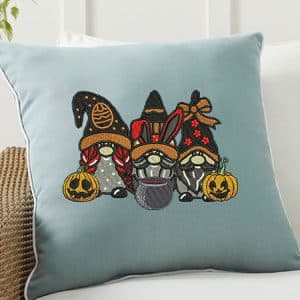
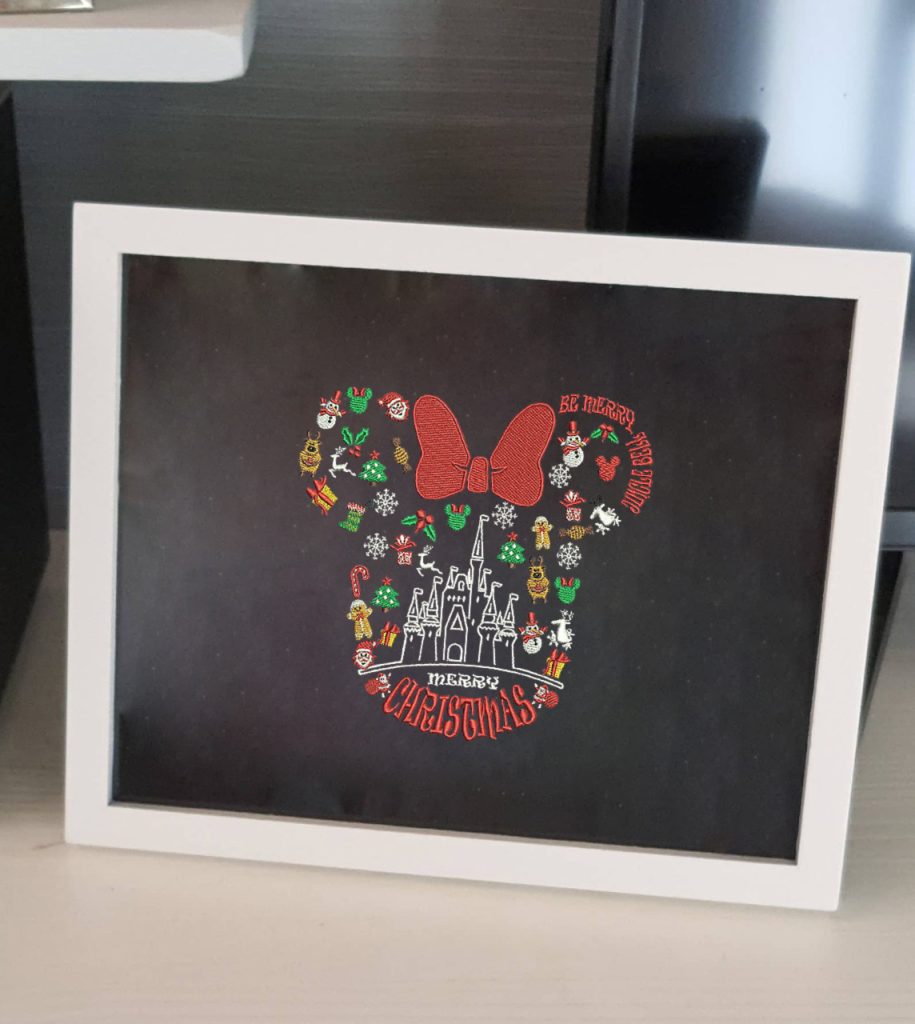
Christmas gift designs need clarity, balance, and strong visual appeal. Vector-based artwork plays a key role in achieving clean and professional results for embroidered holiday products.
When designs start clean, the final embroidery also looks clean. That is why vector preparation matters so much for Christmas gifting.
Why Clean Artwork Matters for Christmas Gifts
Holiday designs often include small details. Tiny text, snowflakes, stars, and ornaments need sharp edges.
Vector artwork keeps every line smooth and controlled, even at small sizes.
With professional vector art services, Christmas designs stay readable and visually balanced on all products.
Vectors Keep Christmas Designs Sharp at Any Size
Christmas gifts come in many sizes.
• Small patches • Medium caps • Large hoodies and jackets
Vector designs scale up or down without losing quality. This helps brands reuse one design across multiple gift items without redesigning.
Better Stitch Flow Starts with Vector Art
Embroidery machines follow paths created during digitizing. Clean vector paths guide smooth stitch movement.
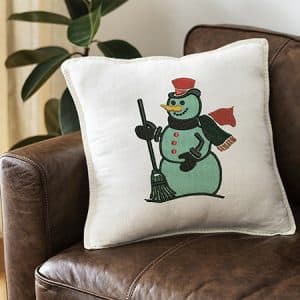
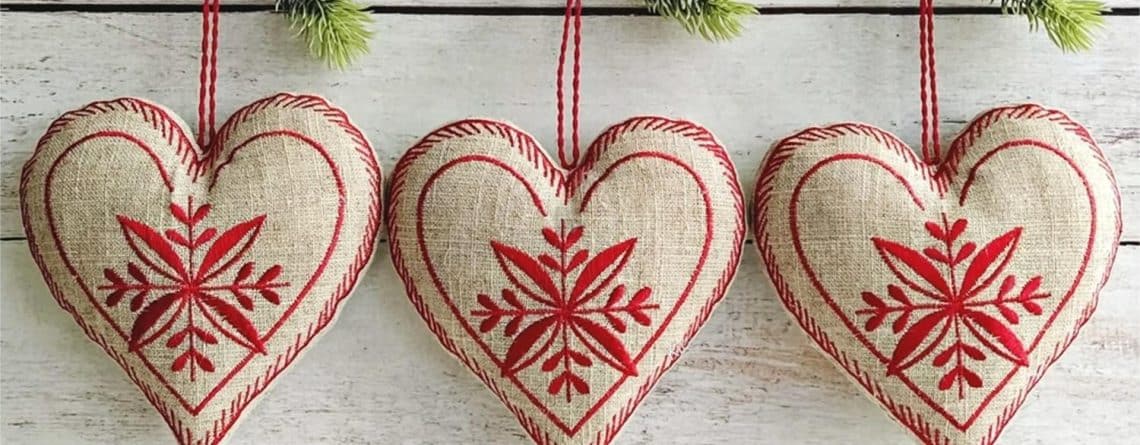
Christmas gifts feel more special when they are personal. Embroidery makes that possible. With embroidery digitizing, you can turn simple items into meaningful holiday gifts that people keep for years.
Below are the best Christmas gift ideas made using professional embroidery digitizing, perfect for families, businesses, and holiday promotions.
Why Embroidered Gifts Work So Well at Christmas
Embroidered gifts last longer than printed items. They look premium and feel thoughtful. They also work for personal and corporate gifting.
Are you new to embroidery and want to create beautiful Christmas designs? There's no need to feel intimidated by complex patterns! Starting with beginner-friendly Christmas embroidery designs helps you build skills while creating stunning holiday projects. This guide will teach you the best patterns for newcomers based on simplicity, visual impact, and learning value.
Best Christmas Patterns for Beginners in 2025
Make sure you start with these beginner-friendly designs from NKEMB to build your skills:
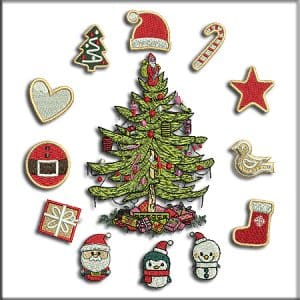
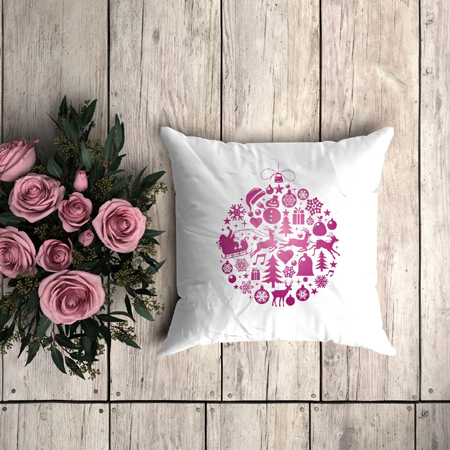
1. Christmas Ball Ornaments
Simple ornament shapes with basic fill stitches create recognizable holiday decorations.
The Christmas Ball design uses clean lines perfect for learning fundamental techniques.
Round shapes teach proper circular fill stitching without complex details or elements.
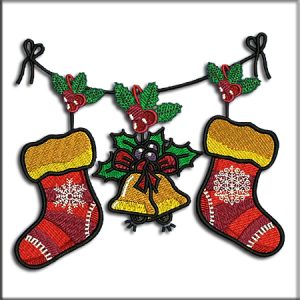
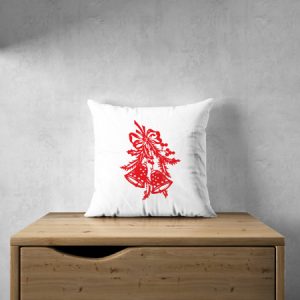
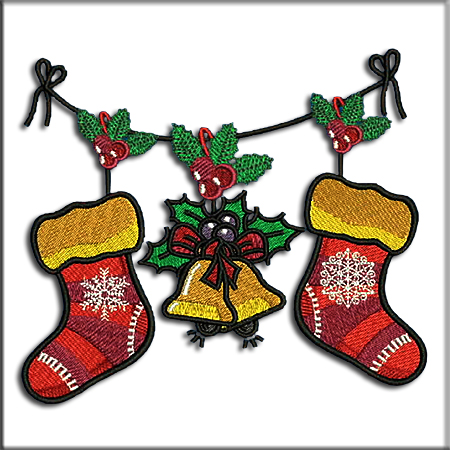
2. Christmas Bells
Classic bell shapes introduce curved outlines and simple fill patterns effectively.
The Christmas Bell pattern includes basic bows and minimal detail for easy learning.
Two or three colors teach color management without overwhelming new embroiderers.
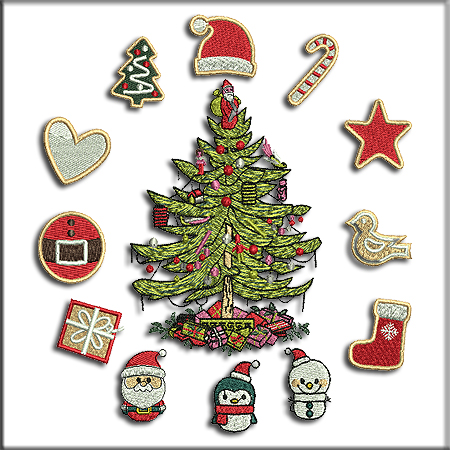
3. Christmas Trees
Triangle-shaped trees with basic fill stitches create instantly recognizable symbols.
The Christmas Tree design offers straightforward geometric shapes perfect for beginners.
Add simple star toppers for visual interest without increasing difficulty significantly.
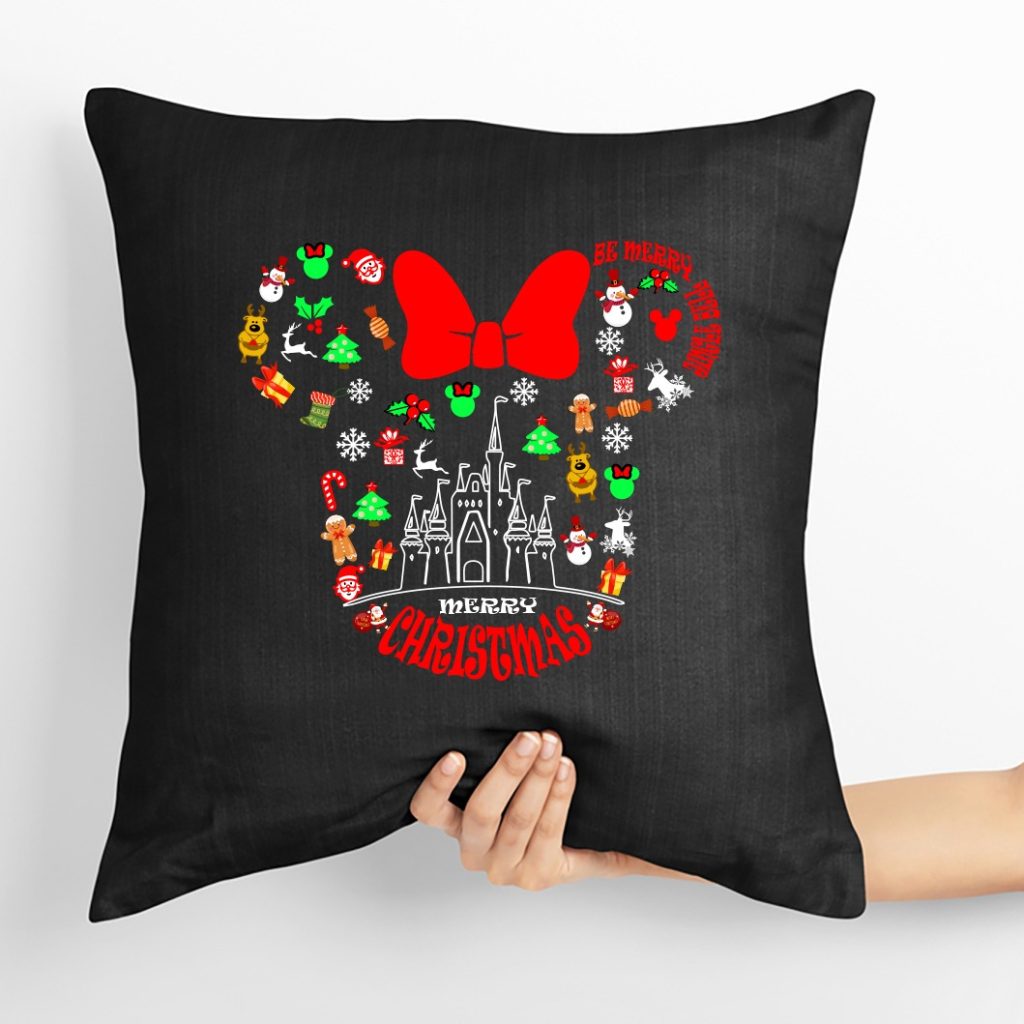
Are you wondering what custom Christmas embroidery products are trending this Christmas season? There's no need to guess what customers want! Understanding popular embroidered items helps you stock inventory wisely and maximize holiday sales. This guide reveals the top 10 custom embroidery products flying off shelves based on market trends, customer preferences, and profit potential.
Why Custom Embroidered Products Sell Well at Christmas
There are a lot of reasons embroidered items make perfect holiday purchases:
Gift appeal: Personalized embroidery transforms ordinary items into thoughtful, memorable gifts.
Upsell opportunities: Suggest matching items when customers order single products for increased sales.
Premium pricing: Charge appropriately for custom work that includes design time and personalization.
Repeat customers: Offer loyalty programs that encourage annual holiday purchases from satisfied buyers.
Corporate accounts: Build relationships with businesses needing custom embroidery digitizing for employee gifts.
Final Thoughts
The strong demand and profit potential of custom Christmas embroidery products make them excellent business opportunities. Consider market trends, production capacity, quality digitizing, and effective marketing before you start. Stocking these top 10 trending items positions your business for successful holiday sales and satisfied customers.
Are you ready to start? Have fun creating beautiful custom embroidered products this season!
Frequently Asked Questions
What should I consider when choosing Christmas products to offer?
Carefully evaluate production time, material costs, market demand, and profit margins for each product type.
Are professional digitizing services necessary for holiday products?
Professional digitizing services ensure consistent quality across all products, especially during high-volume seasons.
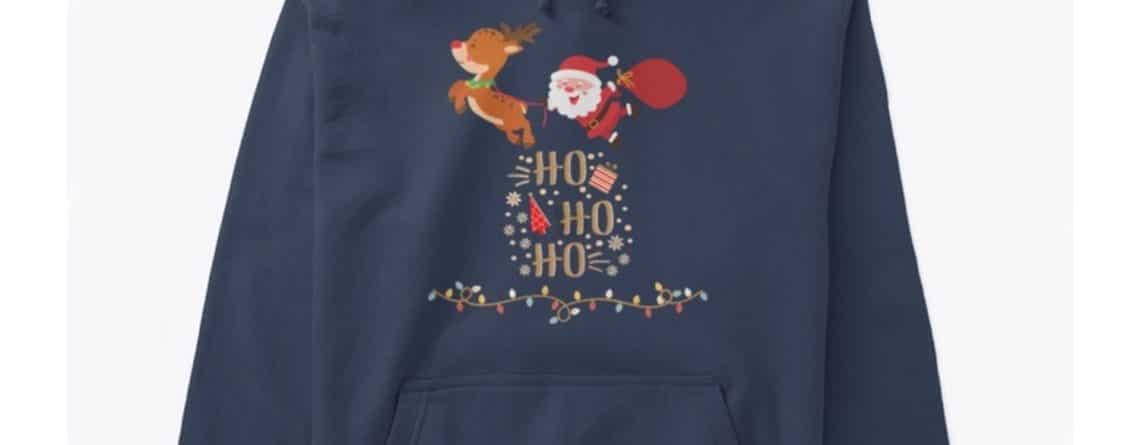
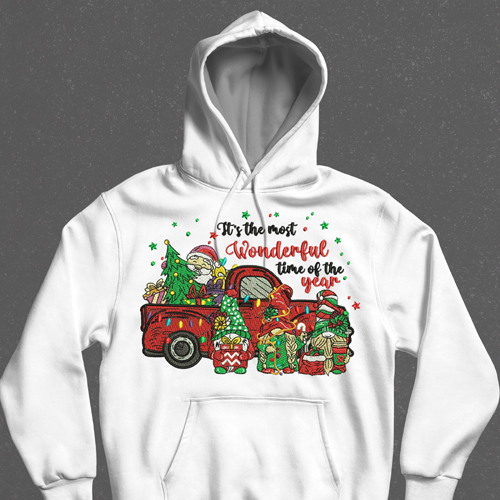
Are you looking to create custom embroidered hoodies for Christmas gifts? There's no need to feel overwhelmed by the process! Custom embroidered hoodies make thoughtful, memorable presents that recipients cherish for years. This guide will walk you through creating custom embroidered hoodies based on design selection, technical requirements, and production best practices.
Why Choose Custom Embroidered Hoodies for Christmas?
There are a lot of reasons to give embroidered hoodies as holiday gifts:
Cost-effective: Create multiple gifts at affordable prices with bulk ordering.
Personal touch: Custom designs show thoughtfulness that generic gifts cannot match.
Practical value: Recipients actually use hoodies throughout winter seasons.
Lasting memories: Personalized designs become keepsakes that remind people of special relationships.
Vector conversion through vector art services transforms logos into embroidery-ready formats.
Timing Your Christmas Project
Start early in October to allow time for design and production.
Allow revision time for potential adjustments and re-digitizing if needed.
Consider shipping times for hoodie blanks and finished embroidery services.
Plan backups if production issues arise close to gift-giving deadlines.
Final Thoughts
The personal touch and lasting quality of custom embroidered hoodies make them exceptional Christmas gifts. Consider design selection, proper digitizing, quality materials, and adequate production time before you start. Following this step-by-step approach ensures your gift hoodies impress recipients and create lasting holiday memories.
Are you ready to start? Have fun creating beautiful custom embroidered hoodies!
Frequently Asked Questions
What should I consider when choosing hoodie blanks?
Carefully evaluate fabric weight, blend composition, construction quality, and color options that work with your design.
Are professional digitizing services necessary?
Professional digitizing services ensure consistent quality across multiple hoodies, especially for complex designs.
Where can I find design inspiration?
Explore digitizing portfolios and current digital embroidery trends for creative ideas.
Is custom hoodie embroidery worth the investment?
Absolutely! Personalized embroidered hoodies create memorable gifts that recipients treasure far more than generic presents.
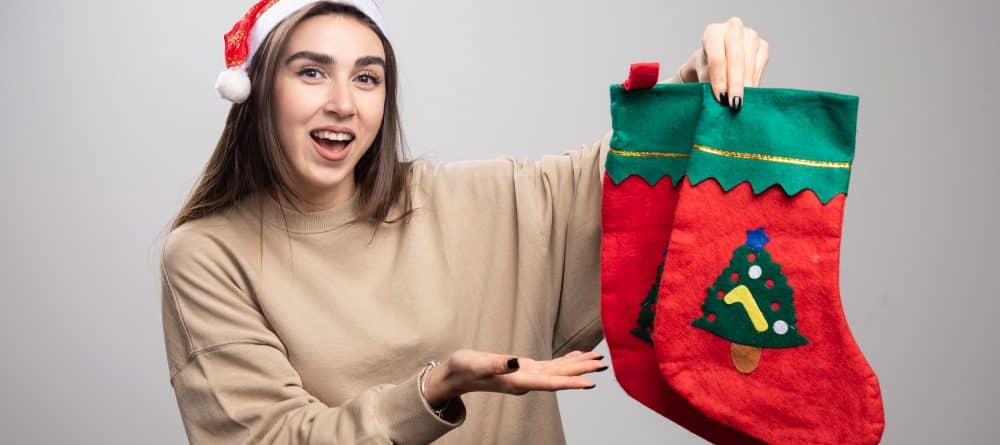
Are you looking to create unique Christmas stockings this holiday season? There's no need to settle for generic store-bought options! Custom embroidered Christmas stockings add a personal touch that makes them cherished family heirlooms. This guide will teach you how to design, personalize, and produce stunning custom stockings based on the latest 2025 trends, technical considerations, and creative ideas.
Make sure you create successful custom stockings by evaluating these factors:
1. Fabric Selection and Preparation
Check your stocking fabric type before beginning the design process.
Different materials like felt, velvet, or fleece require specific approaches, similar to digitizing for different fabrics principles for optimal results.
2. Design Complexity Assessment
Get to know what level of detail works for your chosen stocking size.
Browse the Christmas collection to see examples of designs that translate well to stocking embroidery.
3. Personalization Strategy
Make sure you plan where names and custom elements will appear.
Consider placement options like cuff areas or body sections to maximize visual impact while avoiding seams.
4. Production Timeline Planning
Don't overlook lead times for digitizing and production, especially during holiday rushes.
Professional digitizing services typically need 24-48 hours for custom designs before production begins.
2025 Design Trends for Custom Christmas Stockings
Make sure you stay current with these trending design ideas:
Minimalist modern: Clean lines, geometric snowflakes, and single-color schemes are gaining popularity for contemporary homes.
Vintage revival: Classic 1950s-style designs with retro fonts and traditional holiday motifs create nostalgic appeal.
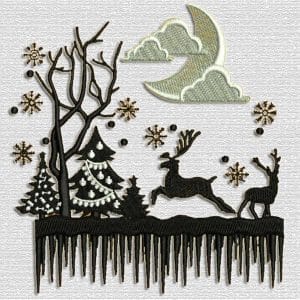
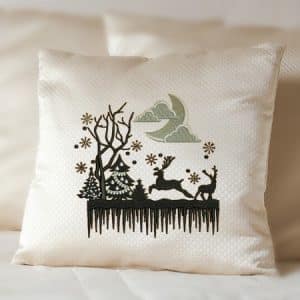
Nature-inspired: Woodland creatures, pinecones, and winter botanicals reflect eco-conscious design preferences seen in sustainable embroidery trends.
Maximalist glamour: Bold colors, metallic threads, and layered 3D puff embroidery elements make dramatic statement pieces.
Personalized portraits: Custom pet faces or family illustrations converted through vector art services create truly unique stockings.
Cultural fusion: Incorporating diverse holiday traditions and symbols from various cultures adds meaningful personalization.
Actionable Tips for Creating Custom Embroidered Stockings
Make sure you achieve perfect results by following these steps:
Start with quality artwork: Use clean, high-resolution designs or professional vector art services to ensure crisp embroidery. Understanding vector art vs raster art helps you provide the right file format.
Plan your color palette: Select thread colors that complement your stocking fabric while maintaining sufficient contrast for readability.
Test personalization placement: Mock up name positions before committing to production to ensure proper spacing and visual balance.
Consider embroidery alternatives: Some designs work better as custom patches that you can appliqué onto stockings for added dimension.
Review digitizing quality: Work with providers who understand quality embroidery digitizing to avoid common problems like puckering or distortion.
Budget appropriately: Research affordable digitizing services to balance quality with cost-effectiveness for your project.
Technical Considerations for Stocking Embroidery
These technical tips will help you get the most out of your custom stocking designs:
Proper underlay: Use appropriate underlay stitching to prevent fabric distortion on curved stocking surfaces and ensure clean registration.
Stitch density optimization: Reduce density by 10-15% for plush fabrics to prevent stiffness while maintaining coverage.
Jump stitch management: Understanding what are jump stitches helps you minimize thread trimming and improve production efficiency.
Fabric-specific settings: Adjust digitizing parameters based on whether you're working with felt, velvet, or other specialty materials.
Name digitizing precision: Maintain minimum text heights of 0.4 inches for clear readability, especially for script or decorative fonts.
Event merchandise: Design custom stockings for holiday markets, craft fairs, and fundraisers.
Subscription boxes: Offer personalized stocking services as part of holiday subscription packages.
Wholesale opportunities: Partner with retailers looking for exclusive custom stocking designs.
Final Thoughts
The lasting appeal and sentimental value of custom embroidered Christmas stockings make them exceptional holiday products. Consider fabric selection, design trends, personalization options, and professional digitizing quality before you start. Following these guidelines ensures your custom stockings become treasured family traditions.
Are you ready to start? Have fun creating beautiful custom Christmas stockings!
Frequently Asked Questions
What should I consider before ordering custom embroidered stockings?
Carefully evaluate fabric type, design complexity, personalization placement, and production timelines to ensure successful results.
Are DIY digitizing tools sufficient for custom stockings?
Professional digitizing services for everyone deliver superior results with proper density, underlay, and stitch optimization for curved surfaces.
Where can I find design inspiration for custom stockings?
Is professional digitizing worth the investment for custom stockings?
Absolutely! Quality digitizing from experienced providers prevents material waste, ensures consistent results, and creates customer satisfaction that builds repeat business.
When you’re preparing vector files for embroidery digitizing, precision matters. A small mistake in file setup can cause stitching errors, color mismatches, and poor-quality results. At NKEMB, we often receive artwork that needs fixes before digitizing. Let’s explore the top five mistakes companies make and how to avoid them.
1. Submitting Raster Images Instead of Vector Files
Many companies send raster images, like JPG or PNG files, thinking they’re ready for digitizing. These images are pixel-based and lose quality when scaled. Vector files, on the other hand, stay sharp and scalable at any size. If you’re unsure how to convert your artwork, learn more in our detailed guide on Raster to Vector.
2. Ignoring Line Thickness and Detailing
Thin outlines and overly complex details may look great on a screen but don’t always translate well into stitches. For embroidery, lines that are too fine can break or disappear. Simplify your design before sending it for digitizing. NKEMB’s Vector Art for Beginners: A Step-by-Step Guide is a great starting point to understand how to prepare clean and stitch-friendly artwork.
3. Using the Wrong Color Palette
Colors in digital design often differ from embroidery threads. Sending a file with unadjusted RGB or CMYK colors can cause mismatch issues. Before submitting, choose thread-compatible colors or provide thread codes. For a deeper understanding of color balance, explore NKEMB’s insights on Color Theory in Vector Art.
4. Forgetting to Convert Fonts to Outlines
One of the most common problems is missing fonts. If your text isn’t converted to outlines (also known as paths), it may not display correctly on the digitizer’s system. Always outline or expand your text before exporting your file.
NKEMB emphasizes professional preparation because even one missed font can delay production. You can read how Professional Digitizing and Vector Conversion Matters when ensuring accuracy and speed in embroidery work.
5. Submitting Files in Unsupported Formats
Different embroidery software supports specific file types. Sending files in unsupported or outdated formats can lead to delays. Always confirm acceptable file formats before submission. If you want to stay updated with modern trends, read The Latest Vector Art Trends in 2025: Pushing the Boundaries of Design.
Why Choose NKEMB as Your Next Vector Project Partner
Choosing NKEMB means partnering with a team that understands every technical and creative aspect of vector and embroidery digitizing. We offer precise editing, color correction, and scalable designs that fit every embroidery need. Our Vector Services help businesses deliver production-ready artwork that stitches beautifully on any fabric. From cleaning up rough sketches to refining brand logos, NKEMB ensures every design converts perfectly from vector to stitch.
FAQs
1. What file formats should I send for digitizing?
Send vector files like AI, EPS, or SVG. These formats keep your design sharp and editable.
2. Can I submit a raster image for conversion?
Yes, but it needs conversion first. NKEMB’s Raster to Vector service can prepare your image for embroidery.
>3. Why does color correction matter in vector art?
Thread colors don’t always match digital shades. Using proper color theory, as discussed in Color Theory in Vector Art, ensures consistent embroidery results.
Vector graphics play a key role in embroidery digitizing. A clean and accurate file helps create smooth stitches and perfect details. But not every vector file is ready for digitizing. Some small mistakes can lead to poor embroidery quality. Here are six signs your vector graphics need fixing before you send them for digitizing.
1. Blurry or Rough Edges
If your artwork has rough or pixelated edges, it is not a true vector file. Embroidery machines follow paths, not pixels, so unclear edges can cause stitching problems. To fix this, redraw your artwork as a vector file or convert it properly. You can learn the right method in Raster to Vector which explains how to turn blurry images into clean and scalable artwork.
2. Overlapping Shapes
Many designs have hidden or overlapping shapes that look fine on screen but cause thread buildup during embroidery. This makes some areas thicker than others. Before submitting your file, merge the paths and remove hidden layers. A simple cleanup can make a big difference. If you are new to vector editing, visit Vector Art for Beginners A Step by Step Guide to understand how to prepare proper embroidery files.
3. Inconsistent Colors
When colors in your design do not match embroidery threads, the final result looks off. Using too many shades or gradients also confuses the digitizer. Stick to solid colors that represent real thread tones. For better understanding, explore Color Theory in Vector Art and learn how digital colors translate to fabric embroidery.
4. Fonts Not Outlined
If your vector file contains editable text, it can change when opened on another system. The missing font issue is common and delays production. Always convert your text to outlines before exporting. This locks the shape and keeps it safe. To know why this step is important, check Professional Digitizing and Vector Conversion Matters.
5. Too Much Detail in Small Areas
Tiny shapes or thin lines that look good on screen may not stitch well on fabric. Fine details can disappear or make the design uneven. Simplify the artwork and focus on bold, clean shapes. For guidance, read The Importance of Vector Art to understand how clear designs give better embroidery results.
6. Outdated File Formats
Submitting old or unsupported file types can slow down the digitizing process. Some vector files may not open correctly in modern embroidery software. Always save your artwork in standard formats like AI, EPS, or SVG. To stay updated with design improvements, visit The Latest Vector Art Trends in 2025 Pushing the Boundaries of Design.
Why Choose NKEMB as Your Next Vector Project Partner
NKEMB understands both design and embroidery needs. Our team prepares vector files that meet every digitizing requirement. We fix outlines, merge paths, match colors, and deliver production-ready files that stitch perfectly. NKEMB’s Vector Services cover everything from artwork cleanup to complex conversions. Whether you need a new logo or want to refine old designs, NKEMB ensures every vector is digitizing ready.
FAQs
1. Why do vector files need cleaning before digitizing
Extra points, overlaps, or hidden paths can cause stitch errors. Cleaning your file helps the embroidery machine read it correctly.
2. Can NKEMB convert raster images into vectors
Yes. NKEMB’s Raster to Vector service converts low quality images into clear, embroidery friendly vector files.
3. How can I fix color issues in my design
Use solid fills instead of gradients. For more guidance, read Color Theory in Vector Art to match digital colors with threads.
4. Why should I trust NKEMB for vector preparation